Monday, August 29, 2022

Instant Pot Butternut Squash and Herb Risotto


This is a sponsored post by Challenge butter, but the text and opinions are all mine. Thank you for supporting brands that make Kylee's Kitchen possible!

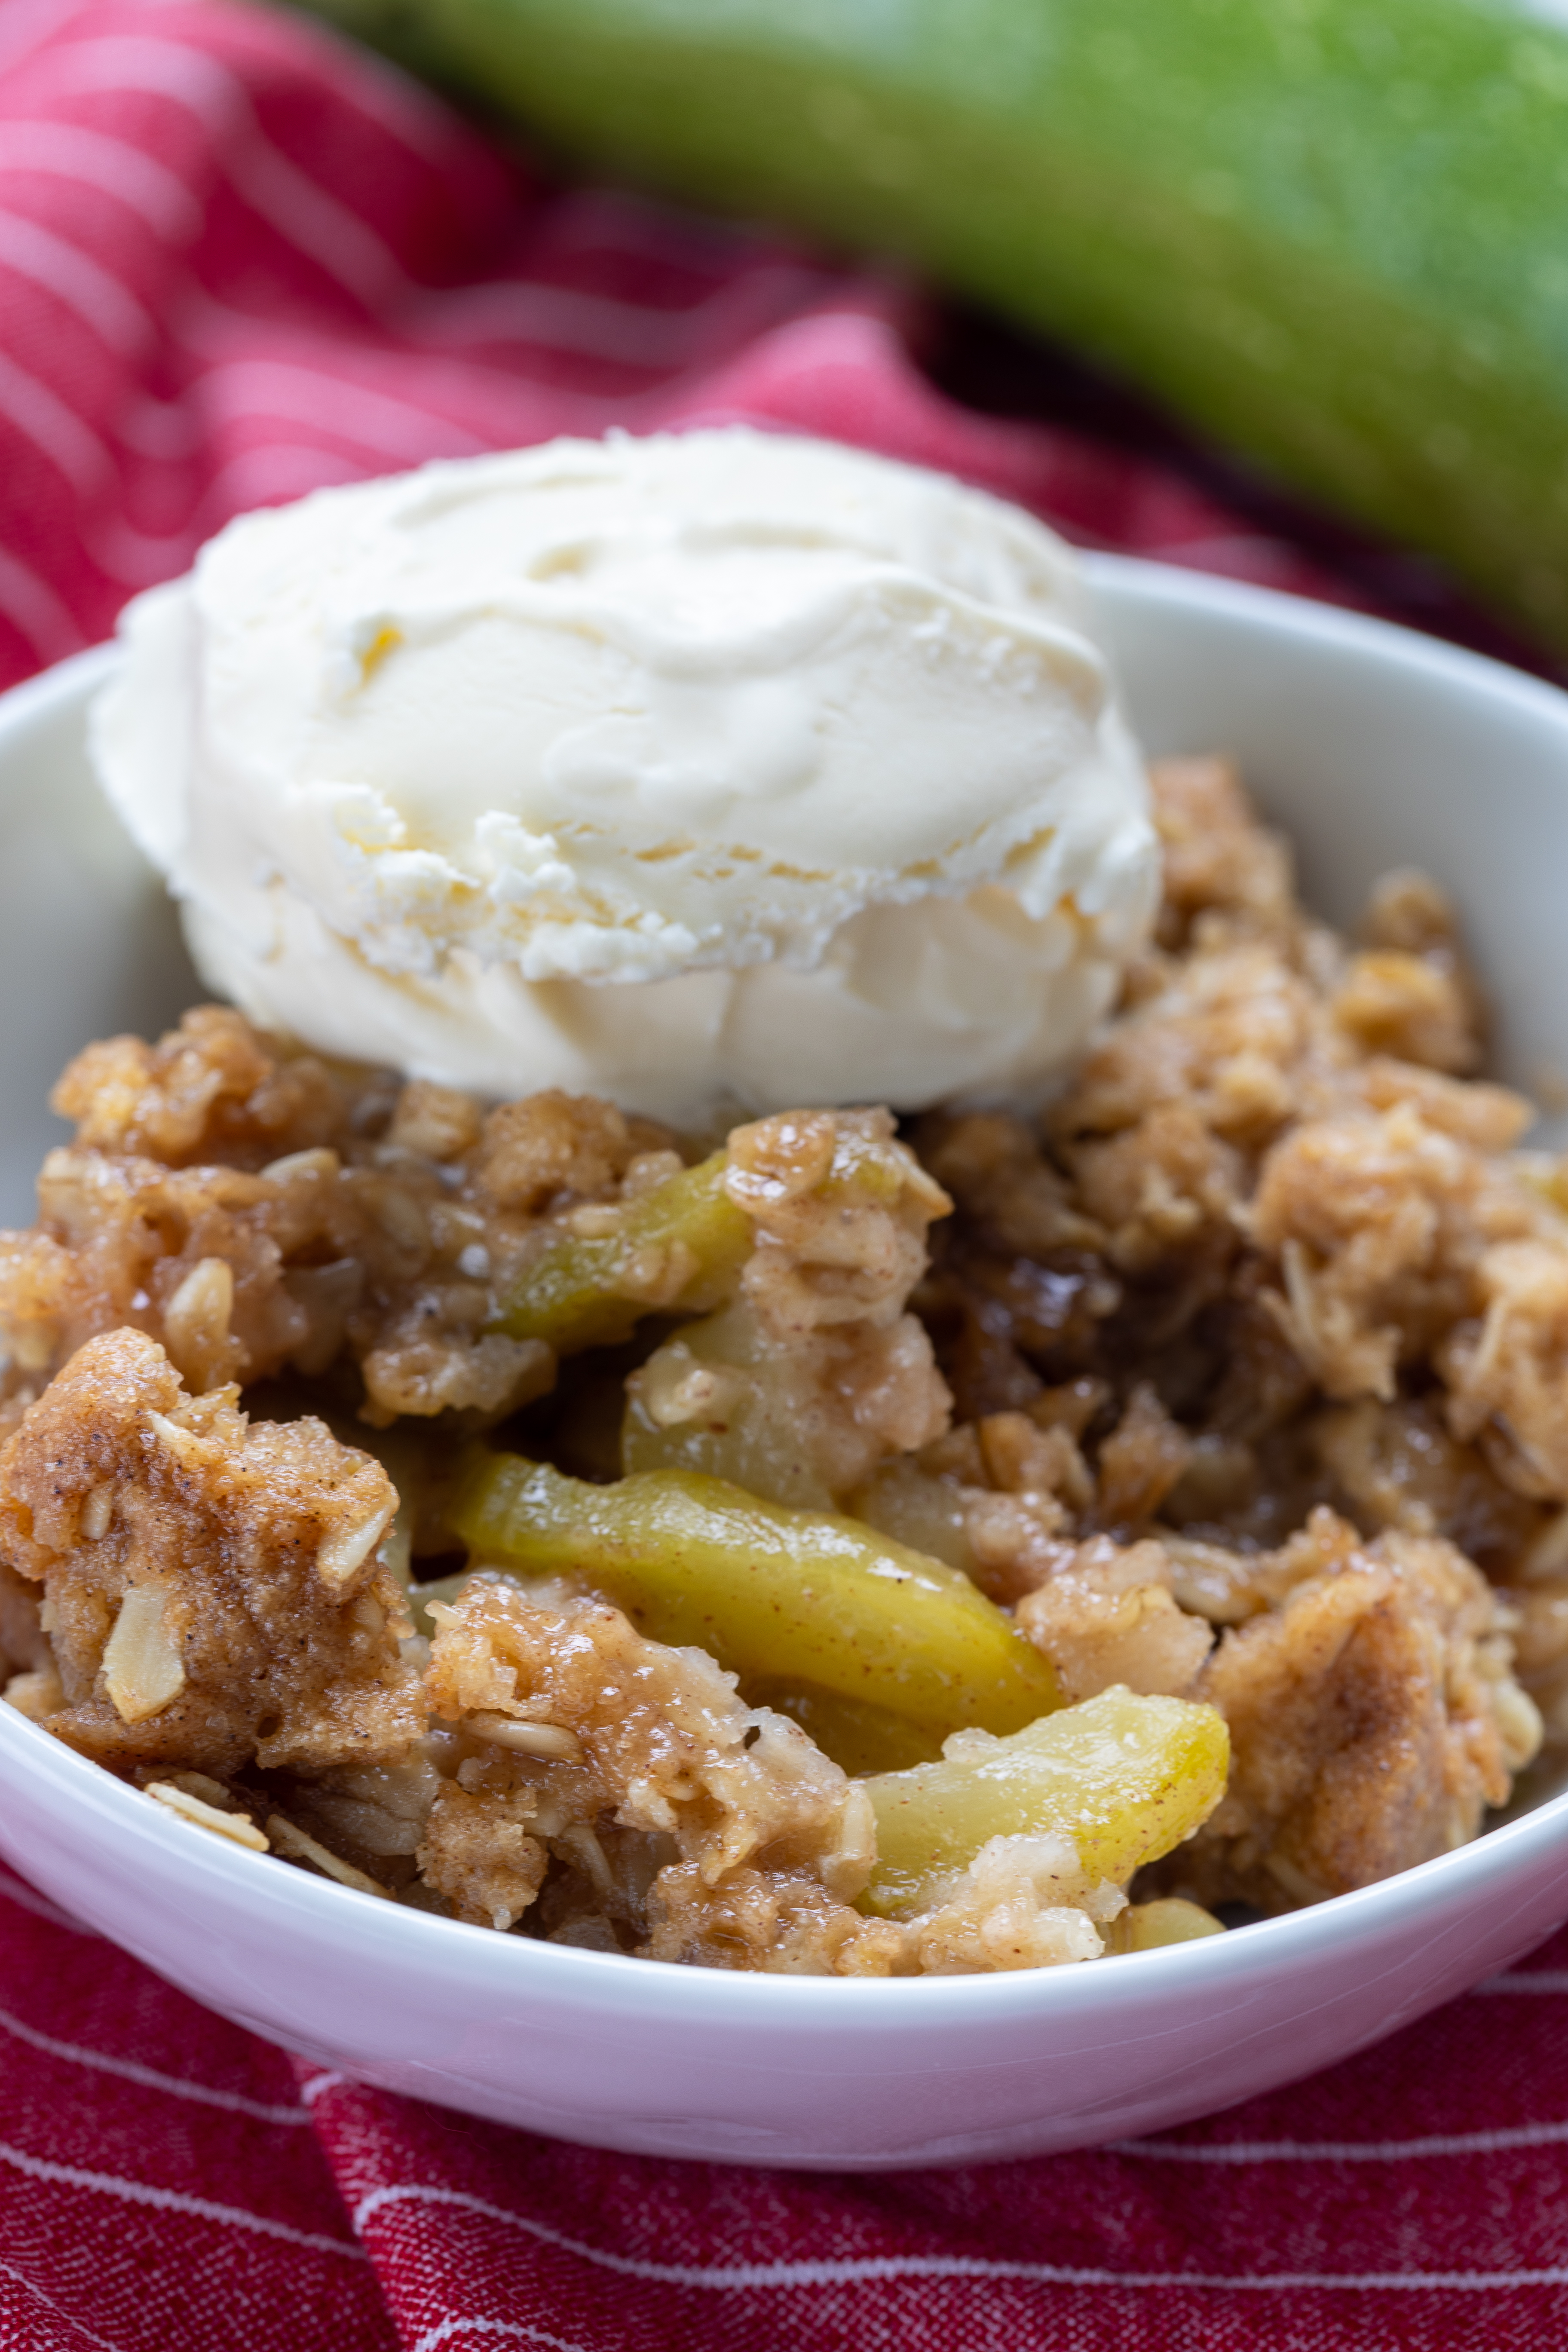
One of my favorite parts about the change in seasons is the new produce that becomes available. The start of September signifies the start of autumn in my mind, and I crave warm, hearty flavors and foods, like butternut squash.

Butternut squash is a "winter squash," because we harvest it when the rind is tough, making it suitable for winter storage, unlike summer squash, which is harvested when the rind is still tender.

Butternut squash usually reaches maturity in September, but some farmers are finding their squash is ready to harvest a little early because of the unseasonably hot summer.

Butternut squash has long been a welcome addition to creamy risotto. In fact, it was the most popular vegetarian entrée at Courses Restaurant, and I made it every week when I worked in the Courses kitchen while I attended culinary school. But the traditional way of making risotto is time-consuming and requires a lot of stirring and standing over the stove. Fortunately, I discovered a much easier method using the Instant Pot.

Even though pressure cookers and slow cookers are generally considered hands-off cooking methods, you can't just dump all the ingredients in and hope for the best. You first have to saute the aromatics in order to release and build flavor. You also should saute the arborio rice before adding the liquids. Sauteeing the rice helps it to develop a nutty flavor, and it also creates a thin coating that prevents the grains from clumping together.

After sauteeing the rice, I add dry white wine—1/2 cup wine for every cup of rice. The wine adds a tremendous amount of flavor. The purpose isn't for the risotto to taste boozy. The acidity in the wine adds dimension and prevents it from tasting flat. Once the wine evaporates, add the rest of the liquid and cook it at high pressure for 5 minutes.

When the 5 minutes is up, quick release the lid and stir it up. You have perfectly cooked risotto! But it isn't complete just yet. I recommended stirring in freshly grated parmesan cheese and a big spoonful of Challenge Seasoned Garlic Parmesan with Herbs Snack Spread. The spread contains real Parmesan cheese, garlic, parsley and butter—flavors that pair perfectly with the risotto.


Instant Pot Butternut Squash and Herb Risotto

Yield: Makes about 6 servings

Time: About 30 minutes

Ingredients

  • 2 Tablespoons oil
  • 2 shallots, minced
  • 1 pound butternut squash, small dice
  • 1/2 teaspoon kosher salt 
  • 1/2 teaspoon black pepper
  • 2 cups arborio rice
  • 1 Tablespoon rosemary, minced
  • 20 sage leaves, chiffonade
  • 1 cup dry white wine
  • 4 cups vegetable stock
  • 1 cup Parmesan cheese, grated
  • 3 tablespoons Challenge Seasoned Garlic Parmesan with Herbs Snack Spread
  • Optional: chopped walnuts for garnish

Directions

  1. Set the pressure cooker to saute setting and add oil.
  2. Once oil is hot, add shallots and cook for several minutes until soft and translucent.
  3. Add butternut squash, season with salt and pepper, and cook just until it starts to soften.
  4. Stir in the arborio rice, rosemary, and sage. Cook until rice is lightly toasted and smells nutty.
  5. Use wine to deglaze the pan and stir until evaporated.
  6. Pour in vegetable stock, cover pot with lid, and set pressure cooker to normal pressure for 5 minutes.
  7. After it's done cooking, quick release pressure and open lid. Stir in parmesan cheese and Challenge Seasoned Garlic Parmesan with Herbs Snack Spread. 
  8. Season risotto to taste with salt and pepper and serve topped with extra cheese and chopped walnuts if desired.

Sunday, August 28, 2022

Eggplant flatbread with herby tomato salad

I cannot emphasize enough how much of a difference fresh herbs make in cooking. It is the easiest way to add flavor, color, and garnish any dish, even desserts. Spices and herbs are also a great way to reduce salt in food without sacrificing taste.

I don’t want to say there’s a “right” and a “wrong” way to use herbs because I don’t think there should be rules to cooking. But there are certainly better ways than others to use them.

First, I want to discuss fresh versus dried herbs. They are both important for adding flavor, but they are definitely not the same. You need to approach the way you use them differently. Fresh herbs work best as a garnish added to a dish right before it’s served or mixed into uncooked foods, whereas dried herbs need to be added to soups, sauces, and other dishes during the cooking process. That’s because dried herbs need to be rehydrated to release and develop their flavor. If you add them at the end, they’ll taste like powder. 

Delicate, fresh herbs lose their flavor when heated, which is why it’s best to add them at the end of the cooking process or as a garnish. Some examples are parsley, cilantro, basil, dill, mint, and tarragon. Woody herbs are recognizable by their tough, wood-like stems, and they are typically added early on in the cooking process, like dried herbs, and not served raw. Examples of woody herbs are rosemary, thyme, sage, and marjoram.

Also, if you plan to replace fresh herbs with dried herbs once vice versa in a recipe, know that it isn’t a one-to-one swap. One teaspoon of dried herbs is equal one tablespoon of fresh herbs, so it’s a 1 to 3 ratio.

The dish I’m sharing today uses both dried and fresh herbs. It’s an eggplant dip similar to Moroccan zaalouk that is spread over flatbread and topped with a fresh, herby tomato salad. 

Eggplant flatbread with herby tomato salad

Yield: Serves 4-6

Ingredients

For the eggplant spread

  • 1 Tablespoon oil
  • 2 shallots, minced
  • 1 teaspoon ground cumin
  • 1 teaspoon ground coriander
  • 1/4 teaspoon smoked paprika
  • 1/4 teaspoon ground cayenne
  • 1/4 teaspoon fresh ground black pepper
  • 2 large eggplants, peeled, medium dice
  • 1 (14.5 ounce) can diced tomatoes, drained
  • 2 Tablespoons lemon juice 

For the herby tomato salad

  • 2 teaspoons pomegranate molasses
  • 2 teaspoons extra virgin olive oil
  • 1 teaspoon lemon juice
  • 1 teaspoon sumac
  • 1 shallot, minced
  • 1 pound tomatoes, medium dice
  • 1/2 cup chopped walnuts, toasted
  • Naan or flatbread for serving
  • 1 cup herb mixture (I like mint, dill, and parsley), chopped

Directions

For the eggplant spread

  1. Heat oil over medium-low heat. Add shallots and cook until soft, about 2 minutes.
  2. Add spices and saute until shallots are evenly coated.
  3. Add eggplant and tomatoes. Mix until evenly coated in spices and cover with lid.
  4. Reduce heat to low and cook for 1 hour.
  5. Remove lid. Eggplant should be very soft. Smash and bread into pieces with wooden spoon.
  6. Remove from heat and stir in lemon juice.

For the herby tomato salad

  1. In large bowl, mix pomegranate molasses, oil, lemon juice, sumac, and shallots.
  2. Stir in tomatoes and walnuts.

For the flatbread

  1. Heat up naan or flatbread. 
  2. Spread about 1/4 cup of eggplant dip over flatbread.
  3. Top with tomato salad and handful of herbs before serving.

Thursday, August 25, 2022

No-cook dinner ideas


Back-to-school season and the return of fall activities is very chaotic for many families. The last thing on your mind is what to make for dinner. That’s why I love no-cook meals. They don’t require planning, and you don’t have to heat your oven.

The first no-cook dinner I’m sharing is chicken souvlaki. This is less of a recipe and more of a concept, so ingredient measurements aren’t exact. The main ingredients are pita bread, chicken, and tzatziki and/or hummus. I like to always have Trader Joe’s Fully Cooked Lightly Seasoned Boneless Skinless Chicken Breasts in my refrigerator, and I just warm them up in the microwave. But you could also use rotisserie chicken, canned chicken, or any other pre-cooked chicken. There are numerous toppings you can add, like lettuce, red onion, cucumbers, tomatoes, feta cheese, and olives. I like to set all the ingredients out and have everyone build their own pita.

Chicken souvlaki pitas

Ingredients

  • Pita bread
  • Cooked chicken 
  • Tzatziki and/or hummus
  • For serving: lettuce, red onion, cucumbers, tomatoes, feta cheese, olives

Directions

  1. Warm up pita bread and chicken in microwave.
  2. Spread generous amount of tzatziki and/or hummus on pita bread and top with several pieces of chicken and desired toppings.
  3. Serve immediately.

Another great no-cook dinner option, especially for anyone tired of chicken, is a spicy salmon rice bowl. I first made something similar to this with tuna last year. I posted a video of it to TikTok, and it went viral, accumulating over 1.6 million views! You can use smoked or canned salmon for your protein (I like Trader Joe's Wild Sockeye Smoked Salmon Ends & Pieces) and frozen microwave rice for you starch to keep in the spirit of no-cook meals. I also like to add cucumber, carrots, avocado, and green onion to my rice bowl. I top it all off with spicy mayo and furikake seasoning. I purchased my furikake seasoning at Trader Joe’s, but if you can’t find it in store, you can order it on Amazon or substitute with nori.

And if you want something a little extra with your meal, edamame makes a great side dish. Just like with the chicken souvlaki pitas, this is less of a recipe and more of a concept, so I’m not going to put exact amounts in my ingredients list.

Spicy salmon rice bowl

Ingredients

For the spicy mayo

  • 1/2 cup mayonnaise
  • 2 Tablespoons sriracha
  • 1 Tablespoon soy sauce or coconut aminos
  • 1 Tablespoon rice wine vinegar

For the bowl

  • Frozen rice
  • Smoked salmon, cut into bite-sized pieces
  • Persian cucumbers, sliced thin
  • Shredded carrots
  • Avocado
  • Scallions, both white and green parts
  • Furikake seasoning

Directions

For the spicy mayo

  1. Mix mayonnaise, sriracha, soy sauce, and rice wine vinegar. Sauce should be thin enough to drizzle. Set aside.

For the bowl

  1. Heat frozen rice in microwave. Place in bowl.
  2. Top with salmon, cucumbers, carrots, avocado, green onion, and furikake seasoning.
  3. Drizzle spicy mayo over bowl and serve.


The last no-cook dinner option I’m sharing today is a pasta dish. You may wonder how I can have a no-cook dinner with pasta. The answer is hearts of palm pasta! I purchase my hearts of palm pasta from Trader Joe’s, but I’ve seen other brands like Palmini and Pasta Zero at other local grocery stores. Unlike other pasta substitutes, hearts of palm pasta has a texture very similar to regular pasta, and I like that you can heat it up in the microwave. For this recipe, I like to use canned tuna for protein, but you could also use chicken, salmon, or omit the protein.

Hearts of palm pasta with warm lemon vinaigrette

Ingredients

For the vinaigrette

  • 1 garlic clove, minced
  • 2 anchovy fillets, minced
  • 1/4 teaspoon kosher salt
  • 1/4 teaspoon black pepper
  • 1/4 teaspoon red pepper flakes
  • Zest from 1 lemon
  • Juice from 1 lemon
  • 1 teaspoon dijon mustard
  • Optional: 1/2 teaspoon honey or maple syrup
  • 1/3 cup extra virgin olive oil

For the pasta

  1. Hearts of palm pasta
  2. Canned tuna, drained
  3. Capers, drained
  4. Panko bread crumbs
  5. 1 cup fresh herbs (any combination of parsley, mint, scallion greens, basil), torn

Directions

For the vinaigrette

  1. Smash together garlic, anchovies, salt, black pepper, red pepper flakes, and lemon zest to form a paste. 
  2. Whisk in lemon juice, dijon mustard, and honey.
  3. Slowly pour in extra virgin olive oil while constantly whisking to emulsify ingredients.
  4. Set aside.

For the pasta

  1. Heat pasta in microwave according to package directions. 
  2. Add tuna, capers, and panko.
  3. Drizzle vinaigrette over warm pasta and toss to coat. 
  4. Garnish with fresh herbs and serve.

Thursday, August 11, 2022

Chorizo and jalapeño corn fritters


Eating corn straight from the cob is a Midwestern summer delicacy. But another great option is to use the corn for fritters. Corn fritters are more filling, and they’re easily customizable to your liking. Another bonus is you can use the cobs to make corn stock after removing the kernels.


First, a few notes on the fritter batter:
  • You can customize the fritters with different cheeses and spices.
  • Feel free to swap the chorizo for bacon, use vegetarian crumbles, or omit entirely.
  • You can use gluten-free cornbread mix.
  • Don’t over mix the batter. It will be very thick.
  • Chill the batter for at least 30 minutes before cooking. 1 hour is preferred. Or you can make the batter a day in advance.

And here are some important tips for pan frying the fritters:
  • Cook fresh corn kernels for a few minutes to soften them because they won’t cook much in the pan. I do this in the microwave before I shuck the corn.
  • Make sure the oil in the pan is hot (around 350 degrees) before dropping the batter in the pan.
  • Keep the temperature on medium-low to avoid oil splatters.
  • Space the fritters evenly around skillet in a clockwise direction so you always know which ones to turn first.
  • Don’t overcrowd the skillet.
  • Salt fritters immediately after cooking. 
  • Place cooked fritters on baking sheet in oven set as low as possible (that’s 170 degrees Fahrenheit for most ovens) so they remain warm while you finish cooking the rest of the batter

It couldn't be easier to make a corn stock with the leftover corn cobs. Just place the corn cobs in a stock pot with 1 gallon cold water, 1 bay leaf, and 10 black peppercorns. Bring the water temperature to a boil and then reduce to a simmer. Continue to simmer for 1 - 2 hours. Strain the stock and refrigerate for up to 1 week or freeze.


Chorizo and jalapeño corn fritters

Ingredients

  • 304 grams (2 cups) cornbread mix (about 1.25 standard 8.5 ounce Jiffy boxes)
  • 1 teaspoon cayenne pepper
  • 1 teaspoon garlic powder
  • 1/2 teaspoon freshly ground black pepper
  • 1 pound (3 cups from about 4 cobs) corn kernels
  • 113 grams (4 ounces) cooked chorizo
  • 113 grams (4 ounces) sharp cheddar cheese, shredded
  • 30 grams (about 1 medium) jalapeño pepper, seeded and minced
  • 12 grams (1/4 cup) chives or scallion greens, minced
  • 80 grams (2/3 cup) whole milk
  • 114 grams (2 large) eggs
  • Vegetable oil, canola oil, coconut oil, or ghee for frying
Directions
  1. Mix cornbread mix, cayenne pepper, garlic powder, and black pepper in large bowl.
  2. Add corn, cheese, jalapeño, and chives and mix until coated.
  3. In separate bowl, whisk together milk and eggs. Pour into dry ingredients and stir just until combined.
  4. Refrigerate mixture for at least 30 minutes. 1 hour is preferred. Can also be refrigerated overnight.
  5. Pour oil into large cast iron skillet until 1/8-inch of bottom is coated. Heat over medium-low until oil is shimmering.
  6. Drop 4 (1/4-cup) portions of batter evenly around the pan and flatten each slightly.
  7. Cook until golden-brown on bottom, about 3 minutes.
  8. Flip and cook until other side is golden-brown, about 3 more minutes.
  9. Transfer fritters to paper towel-lined baking sheet and place in 170 degree Fahrenheit oven to keep warm while making fritters with remaining batter.
  10. Serve fritters warm with sour cream or yogurt sauce.


Monday, August 8, 2022

Zapple Crisp


This is a sponsored post by Challenge butter, but the text and opinions are all mine. Thank you for supporting brands that make Kylee's Kitchen possible!

It’s zucchini season and you or someone you know is probably overloaded with zucchini. Fortunately, it is an incredibly versatile ingredient. So versatile, in fact, that it makes a great apple substitute in apple crisp. I first saw “zapple crisp” on TikTok and thought “No way!” But it actually works really well. I can almost guarantee no one would notice the substitution (I tricked my own family). Zucchini slices even look like apple slices once the seeds are removed!


I don’t recommend doing a straight substitute of zucchini using your favorite apple crisp recipe. There are a few changes you need to make in order for it to taste more like apple. You definitely need to use lemon juice to make it a little tart. Additionally, I used a little cream of tartar, which is an acidic ingredient and it gives baked goods a slightly sour, tangy taste (that’s what gives snickerdoodles their unique flavor).

Additionally, how you slice the zucchini is very important. You have to remove the peel and the seeds.. When you do those two things, the zucchini slices really look like apple slices.


One more thing I want to point out—I baked this in an 11 x 7-inch baking dish. It would certainly fit in an 8x8 or 9x9, but you get a better crisp topping to zucchini filling ratio when you spread it out in a larger dish.

I also want to point out that I used melted butter in the crisp topping. If you use cold butter pieces crumbled into the oats and flour, the topping won't crisp and the texture isn't as good. It's called zapple CRISP for a reason! But if you start with melted butter, the topping will brown and crisp better on top of the filling. I use Challenge unsalted butter in this recipe because it's churned daily from the freshest 100% real pasteurized sweet cream.


Zapple Crisp

Yield: 8 servings

Ingredients

For the zucchini filling

  • 2 pounds zucchini
  • 105 grams (1/2 cup) brown sugar
  • 3 Tablespoons lemon juice
  • 8 grams (1 Tablespoon) all-purpose flour 
  • 1 1/2 teaspoons ground cinnamon
  • 1 teaspoon cream of tartar
  • 1/2 teaspoon ground nutmeg
  • 1/4 teaspoon kosher salt

For the crisp topping

  • 210 grams (1 cup) brown sugar
  • 120 grams (1 cup) all-purpose flour 
  • 90 grams (1 cup) rolled oats
  • 8 Tablespoons (1/2 cup) Challenge unsalted butter, melted
  • 1 teaspoon baking powder
  • 1 teaspoon ground cinnamon
  • 1/4 teaspoon kosher salt

Directions

For the zucchini filling

  1. Preheat oven to 350 degrees Fahrenheit. Spray 11x7-inch baking dish with nonstick cooking spray. Set aside.
  2. Peel zucchini and slice in half lengthwise. Remove seeds from center of zucchini and slice into 1/8-inch pieces. They should resemble apple slices. Place in large bowl.
  3. Mix remaining filling ingredients and add to bowl with zucchini slices. Mix until slices are evenly coated. Spread evenly in baking dish.

For the crisp topping

  1. Mix all topping ingredients and spread evenly over zucchini filling.
  2. Bake for 40 - 45 minutes or until filling is bubbly and crisp topping is golden brown.
  3. Zapple crisp is best served hot with vanilla ice cream.


Pin It button on image hover