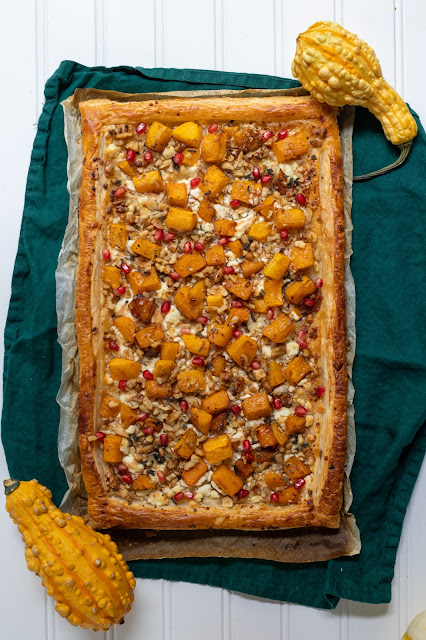
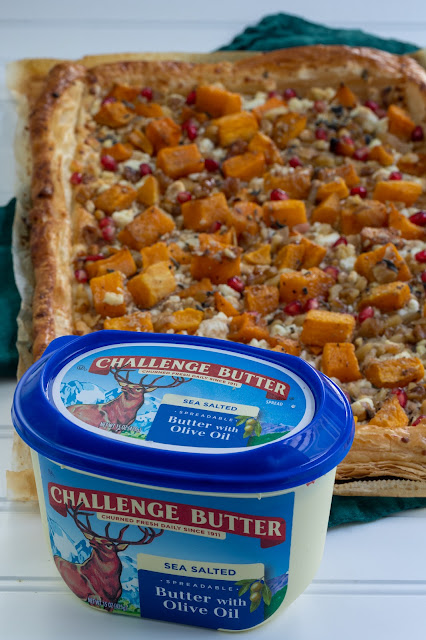
This is a sponsored post by Challenge butter, but the text and opinions are all mine. Thank you for supporting brands that make Kylee's Kitchen possible!
Obviously, apples dominate the fall baking scene, but pears are also in season. And one of the easiest and tastiest things you can do with pears is poach them.
Traditionally, you want to use Bosc pears because they are firm enough to maintain their shape.
You can use any type of liquid-sugar mixture when poaching pears, but I wanted to amplify the warm fall spices that we all love during the fall season. So I brewed a strong pot of chai tea, and poached the pears in that.
You can either poach the pears whole or halved. I chose to poach them whole because I think it makes for a prettier presentation. If you also choose to poach the pears whole, you need to core them from the bottom before peeling them. Just take a melon baller and scoop out the core several times or until you don’t see any seeds.
If you choose to poach the pears as halves, you should peel first and then scoop out the core.
After sticking the pears in the simmering water, you’ll want to ensure the pears stay submerged in the liquid. The best way to do this is with a cartouche. A cartouche is simply a parchment paper lid made by cutting a piece of parchment paper the same size as the circumference of your pot. Not only does it keep the fruit submerged in the liquid, it also promotes even heating.
You want to simmer your pears until they’re fork tender. This took me about 20 minutes. Then remove them from the pot and place them in the refrigerator so they don’t continue to cook. Then you want to reduce the simmering liquid until it’s the consistency of syrup. Do this by bringing the liquid to a boil and letting it continue to boil until it’s about 1/3 the original amount. It should be the consistency of syrup.
Remove the pot from the heat and whisk in the butter. The butter will help to thicken the syrup. I use Challenge Salted Butter because it’s made from the freshest, purest cream, and they only use 100% natural products.
At this point, you can serve the pears as is with the syrup drizzled over the top, and that would make for a really elegant, delicious dessert. Or you can turn the pears into a tarte tatin. The classic French dessert is traditionally made with caramelized apples, however, it is absolutely divine with these poached pears.
You’ll want to slice up 5 to 7 pears (depending on size) into quarters, but make sure to keep one pear half as is to use as the center. Then take a 9-inch pie dish (make sure to grease well) and pour 1/2 cup of the syrup in it. Then place the pear half in the center (cut side up) and fan out the pear quarters around the center. All that’s left is to cover the pears with a sheet of puff pastry and bake!
Part of the magic of tarte tatin is that it’s flipped upside down, so the saucy pears on the bottom are flipped to the top. A lot of people say you need to do this while it’s still warm so the pastry doesn’t stick to the pie dish, but I’ve never had issues with it sticking so I wait until it has cooled. You can invert the tarte tatin into another pie dish, or if you plan on serving it right away, you can invert it onto a cake stand.
I think it tastes delicious both warm and cold!
Chai-poached pear tarte tatin
Yield: 8 servings
Ingredients
- 6 cups water
- 6 chai tea bags
- 4 cloves
- 3 cardamom pods (don’t use ground cardamom, omit if you don’t have)
- 2 cinnamon sticks
- 1 1/2 cups granulated sugar
- 1 teaspoon vanilla paste
- 5 bosc pears (you may need 6 if small)
- 1/4 cup (4 Tablespoons or half a stick) Challenge salted butter
- 1 sheet puff pastry (thawed)
Directions
- Bring water, tea bags, cloves, cardamom pods, and cinnamon sticks to boil in large pot. Reduce heat and simmer 10 minutes. Remove from heat and steep 30 minutes.
- Remove tea bags, cloves, cardamom pods, and cinnamon sticks and add sugar and vanilla paste to pot and bring mixture to simmer.
- While waiting for it to simmer, core pears with melon baller from bottom of fruit and peel the pears. Place in pot once it comes to simmer and cover with circle of parchment paper (this is called a cartouche). Allow pears to simmer for 20 minutes.
- Remove pears from pot. Bring liquid in pot to boil and continue boiling until it reduces by half and is the consistency of maple syrup (this could take upwards of 30 minutes).
- Whisk in butter and salt.
- Cut pears into quarters, but make sure to keep one half in tact for the center.
- Preheat oven to 375 degrees Fahrenheit.
- Butter pie plate. Pour 1/2 cup of the reduced chair syrup into pan.
- Place pear half in center, cut side up, and arrange remaining pear quarters around the outside edge with the skinny part pointing toward center.
- Drape puff pastry over pie pan and tuck the edges under the pears.
- Baked for about 25 to 30 minutes or until puff pastry is golden brown.
- Remove from oven and allow to cool for about 30 minutes.
- Invert tart onto serving dish or into another pie pan.

.png)