.png)


I'm talking about "spring cleaning" your refrigerator in this bloig post. Many of us are guilty of keeping random open containers in our refrigerator for far too long because we only use half the jar and then forget about it. Or we let produce expire because we forget about it until we find it hiding in the crisper drawer two weeks too late.
I read an article by Epicurious titled "11 Things That Have Been in Your Fridge Too Long." Included in the list are several things I usually have on hand: yogurt, salsa, cheese, and eggs.
So I created a recipe to clear out my refrigerator and use ingredients I've had far too long. I came up with a breakfast taco casserole.

Here's what I cleared from my refrigerator to use in the recipe:
Salsa: Last about 2-4 weeks
Sour cream: Lasts about 3 weeks
Greek yogurt: Lasts about 1 to 2 weeks
Cooked beans: Last 3-4 days
Cooked meat: Lasts about 3 days
Blocks of cheese: Cheddar, mozzarella, and pepper jack last 4 to 6 weeks max
I included substitution options in italics next to the ingredients because, as I previously mentioned, there are a lot of options for substitutions because I want to help you clean out your refrigerator.
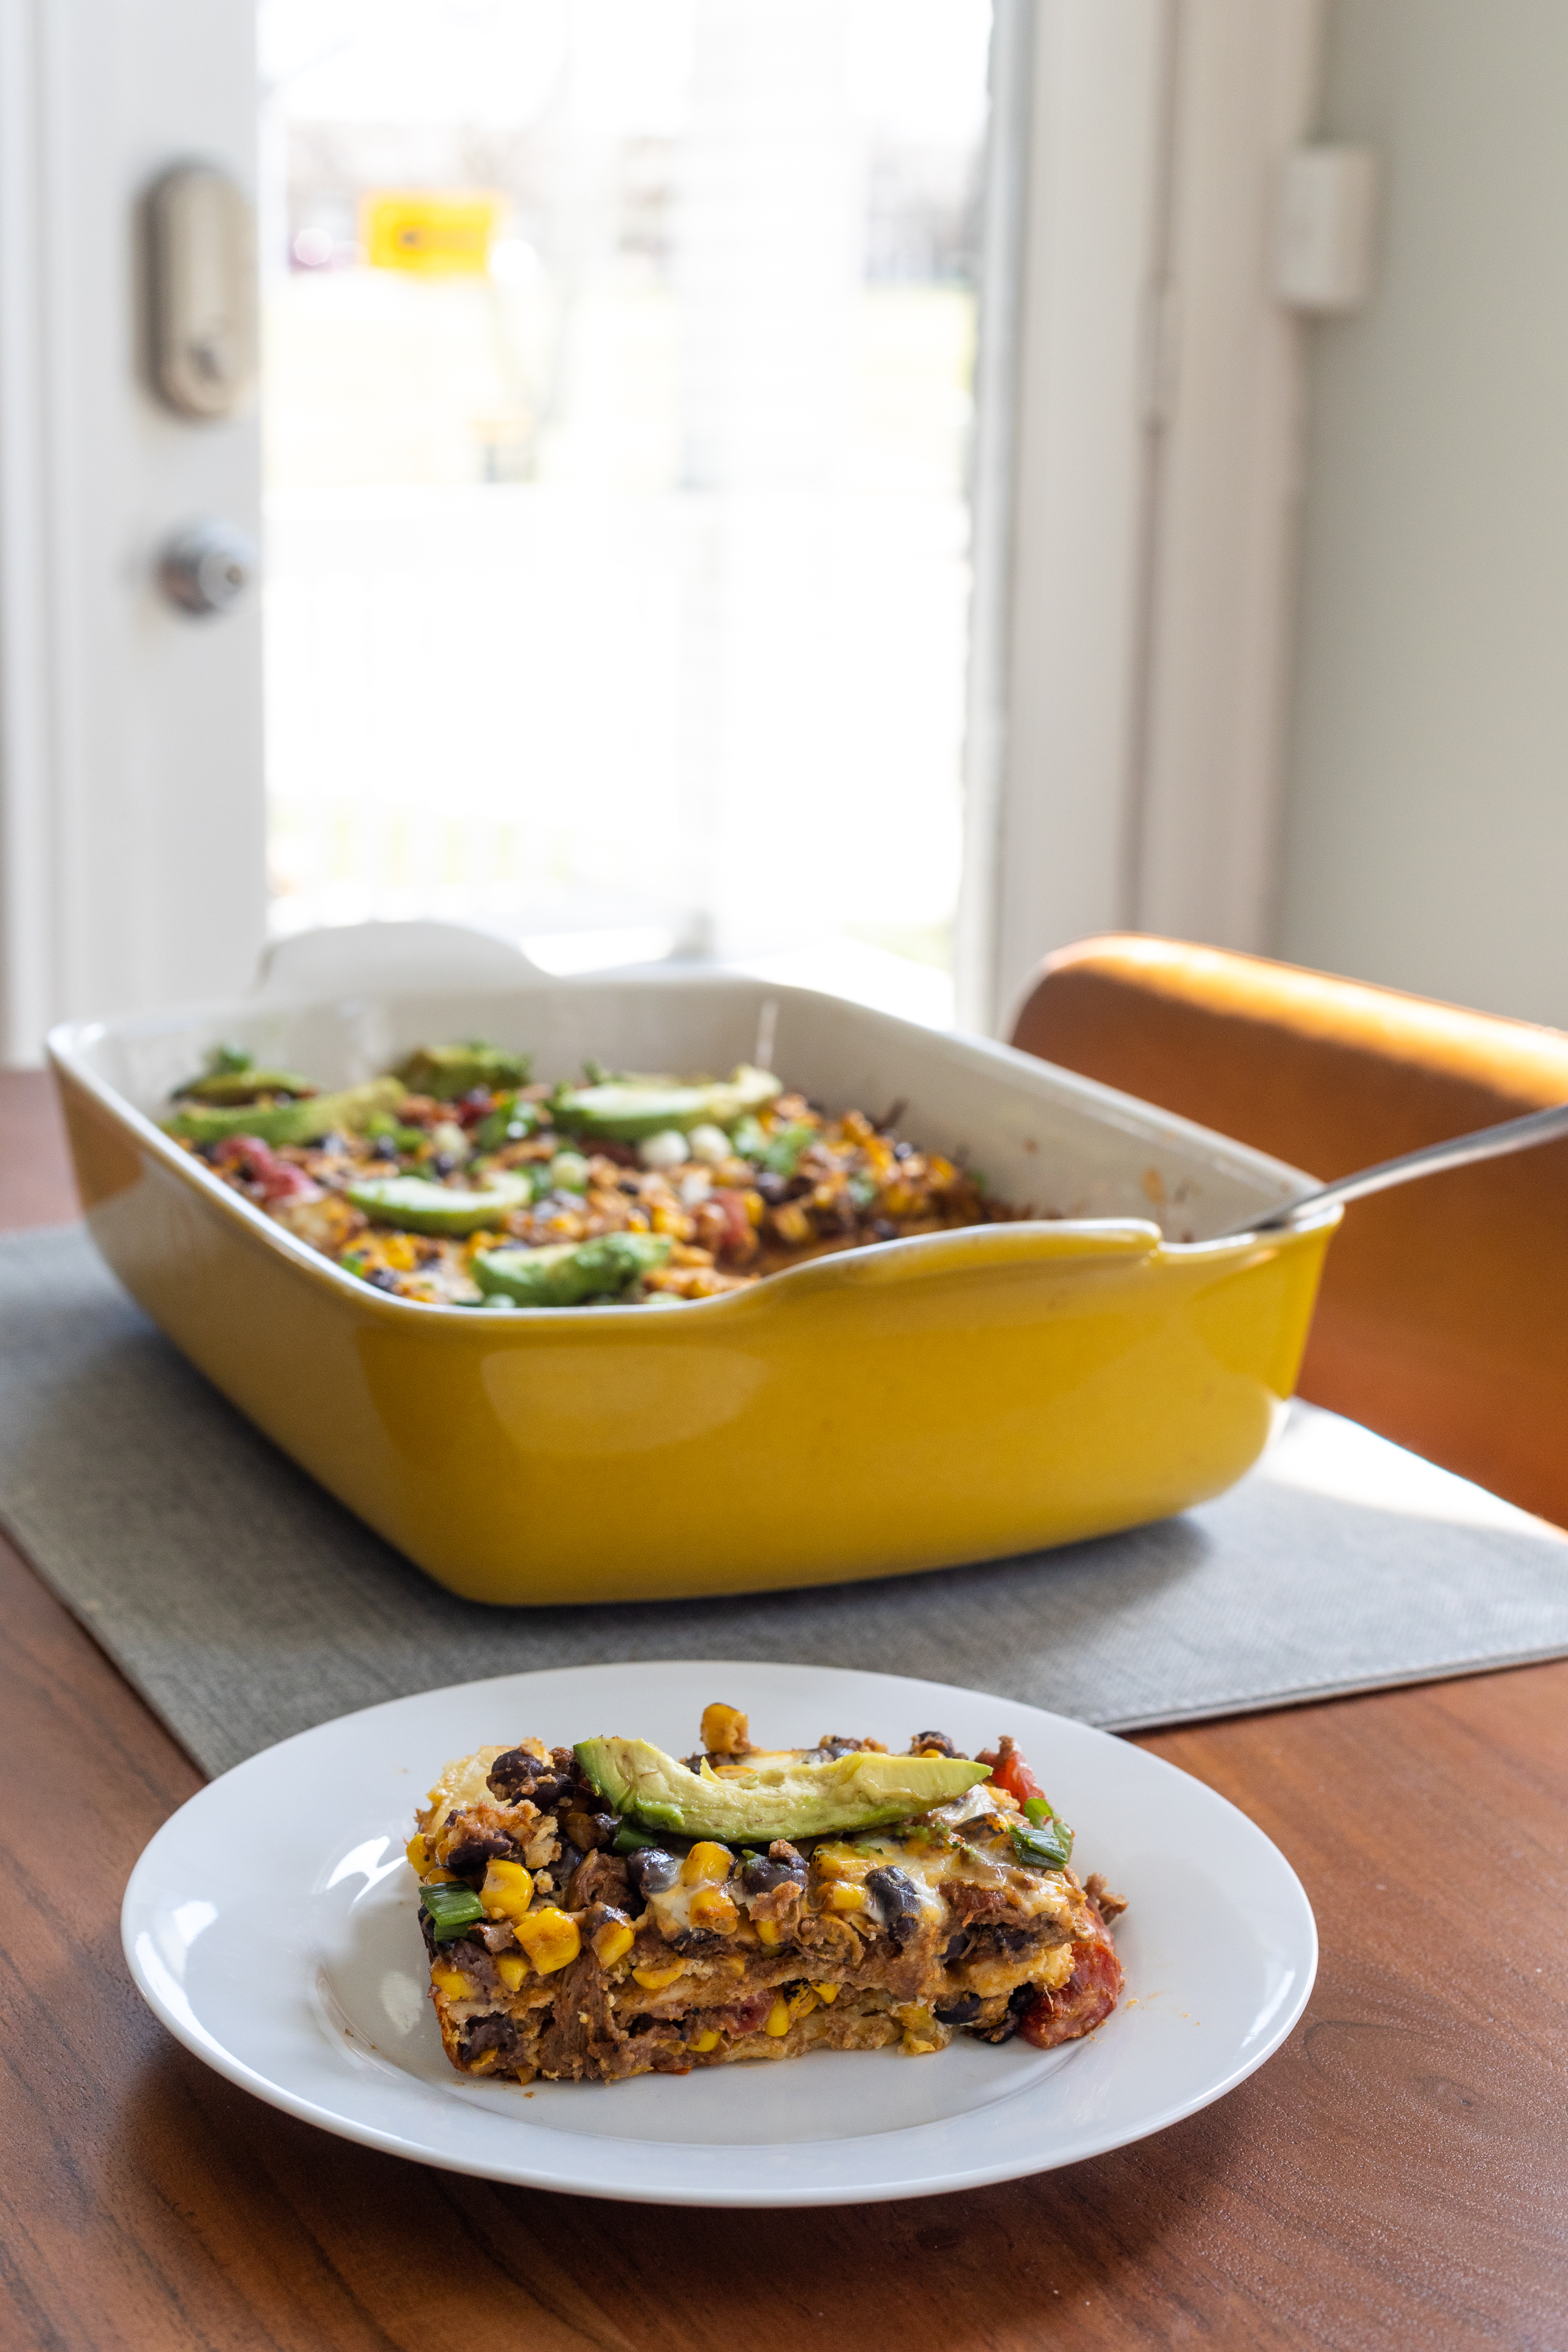
Breakfast taco casserole
Yield: 12 servings
Time: About 90 minutes
Ingredients
- 1 pound Mexican chorizo (you can substitute with chicken, beef, pork, or omit for vegetarian casserole)
- 1 yellow onion, small dice (about 6 ounces)
- 1 red or green bell pepper, small dice (about 4 ounces)
- 1 (16-ounce) jar salsa (you can substitute with diced or crushed tomatoes)
- 1 (15-ounce) can black beans, drained and rinsed (you can substitute with pinto beans or refried beans)
- 1 (15-ounce) can whole kernel corn, drained (you can substitute with frozen corn)
- 1 Tablespoon ground cumin
- 2 teaspoons chile powder
- 1 teaspoon smoked paprika
- 1/2 teaspoon salt
- 1/2 teaspoon black pepper
- 8 corn tortillas, halved
- 12 ounces (3 cups) cheddar cheese, shredded (you can substitute with pepper jack or omit to make it dairy free)
- Optional toppings: avocado, cilantro, sour cream, salsa, Greek yogurt
Directions
- Preheat oven to 350 degrees Fahrenheit. Spray 9x13-inch baking dish. Set aside.
- Heat large skillet over medium heat. Add chorizo and cook until browned, breaking it into smaller pieces as it cooks.
- Use slotted spoon to remove chorizo and transfer to plate.
- Add onion and pepper to skillet and saute until softened, about 5 minutes.
- Stir in salsa, beans, corn, cumin, chili powder, paprika, salt and black pepper. Saute until mixture is combined and fragrant. Remove skillet from heat and stir in chorizo.
- In separate bowl, whisk eggs until well-beaten.
- Lay half of the tortillas in even layer on bottom of baking dish. Top with half of sausage mixture, half of egg mixture, and half of cheese. Repeat with remaining tortillas, sausage mixture, eggs, and cheese.
- Cover baking dish with foil and bake 45 to 55 minutes or until golden brown and not jiggly. Remove from oven.
- Let cool 10 minutes before serving with avocado, cilantro, sour cream, salsa, and whatever else you desire.


